


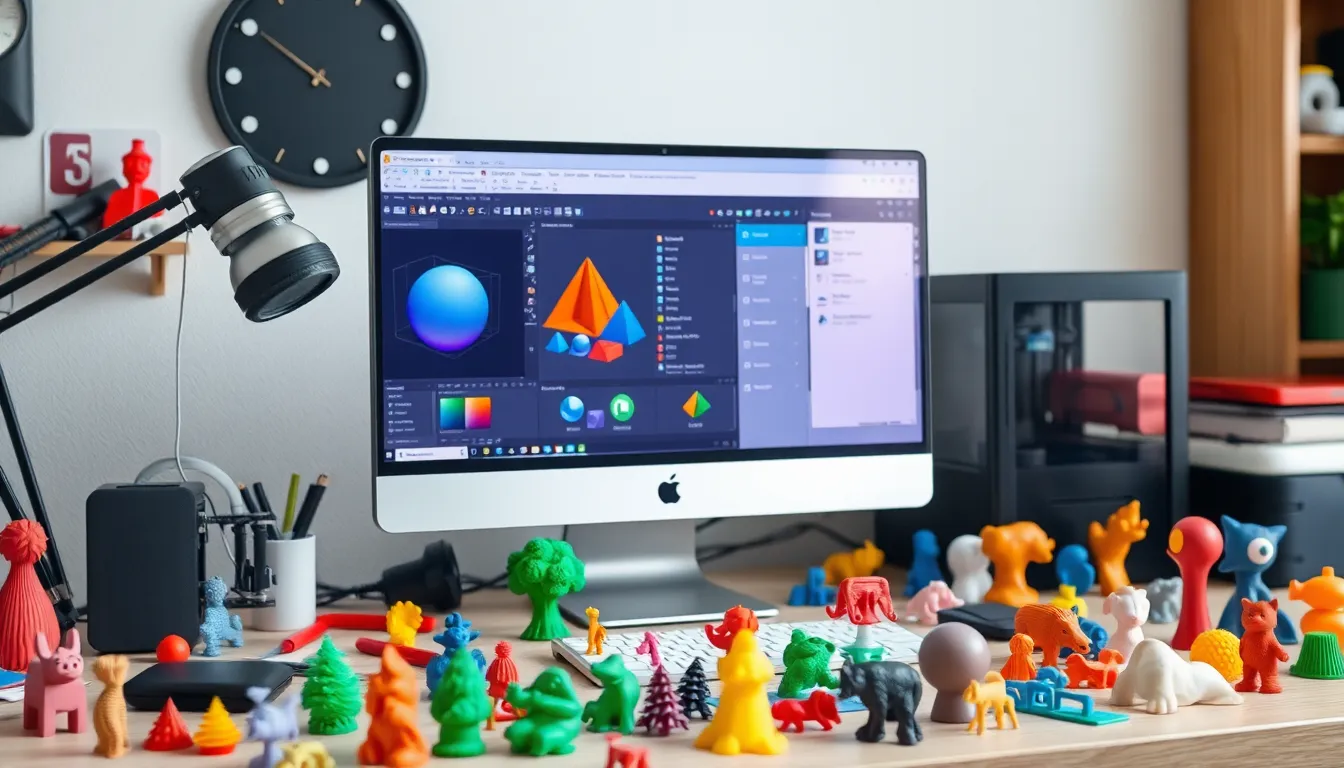
In a world where imagination knows no bounds, 3D modeling has become the gateway to turning dreams into tangible creations. Whether it’s a quirky figurine or a functional gadget, making a 3D model for printing can feel like magic—minus the wand and the cape. With the right tools and a sprinkle of creativity, anyone can dive into this fascinating realm and bring their ideas to life.
But don’t worry if you’re not a tech wizard. This guide will break down the process into bite-sized chunks, making it as easy as pie—3D-printed pie, of course! So grab your digital sketchbook and get ready to unleash your inner designer. It’s time to transform your wildest concepts into stunning realities, one layer at a time.
Understanding 3D Modeling
3D modeling involves creating a digital representation of a three-dimensional object. This representation can serve various purposes, including visualization, animation, or printing.
What Is a 3D Model?
A 3D model is a mathematical representation of a physical object in three dimensions. These models consist of vertices, edges, and faces to define the object’s shape. Artists and designers use 3D modeling software to manipulate these components and create intricate designs. Examples include characters in video games or mechanical prototypes. Each model’s complexity varies, ranging from simple geometric shapes to elaborate structures.
Importance of 3D Modeling for Printing
3D modeling plays a crucial role in 3D printing. It provides the detailed information necessary for a printer to replicate an object layer by layer. Accurate models ensure proper dimensions and details, directly affecting print quality. For example, a well-constructed model reduces material waste and printing errors. Moreover, effective modeling enhances creativity, enabling users to visualize concepts before producing them. Understanding the importance of 3D modeling transforms ideas into tangible products and elevates the overall printing experience.
Choosing the Right Software
Selecting the appropriate software is crucial for successful 3D modeling. Diverse tools cater to various skill levels and project types.
Popular 3D Modeling Tools
Blender stands out as a free, open-source option offering powerful modeling capabilities. Tinkercad provides a user-friendly platform for beginners, making it easy to create simple designs. Autodesk Fusion 360 caters to professionals with advanced features and cloud collaboration. SketchUp serves architects and designers with intuitive controls and a rich library of templates. Lastly, Meshmixer allows for complex operations like sculpting and repairing models.
Features to Look For
When choosing software, prioritize ease of use so novices can navigate without overwhelming challenges. Look for compatibility with file formats like STL and OBJ, essential for 3D printing. Consider tools with robust sculpting and modeling features, which enhance design intricacy. Support for plugins and extensions can add extra functionality as needed. A vibrant user community often provides valuable resources, ensuring assistance is readily available.
Designing Your 3D Model
Designing a 3D model requires understanding fundamental principles of three-dimensional representation. Familiarity with the three primary dimensions—length, width, and height—serves as the foundation. It’s crucial to consider the intended use of the model, as different applications demand varying levels of detail and complexity.
Basics of 3D Design
A solid grasp of the basics empowers creators to produce effective models. Understanding components like vertices, edges, and faces is essential. They form the building blocks of every 3D object. Utilizing grid systems helps maintain accuracy during the design process. Furthermore, creators can use layers to organize different elements effectively. Each layer can represent distinct features or components, enhancing the overall clarity of the model.
Common Design Techniques
Several techniques simplify the modeling process and enhance creativity. Extrusion allows for the extension of 2D shapes into 3D forms, adding volume efficiently. Merging shapes enables the combination of multiple objects into one cohesive design. Additionally, sculpting offers intuitive manipulation of surfaces to achieve organic forms. Applying textures adds visual interest, making models more lifelike. Each technique contributes to a well-rounded skill set, essential for successful 3D printing.
Preparing Your Model for Printing
Preparing a 3D model for printing involves several crucial steps to ensure it meets the requirements for successful production.
Checking Model Integrity
Checking model integrity confirms that the design is ready for printing. First, examine the mesh for any non-manifold edges or open faces. These issues may cause problems during printing. Use specialized software tools to repair any detected problems. Ensure the model is manifold, meaning it has solid geometry without holes or gaps. Additionally, validate that the model’s dimensions match the intended size, as inaccuracies can lead to print failures. Evaluate the model’s thickness, making sure it’s suitable for the chosen material. A consistent wall thickness enhances durability and printability.
Choosing the Right File Format
Choosing the right file format streamlines the printing process. STL files are the most common for 3D printing, offering compatibility with various slicer software. These files capture geometry without color, making them ideal for most applications. OBJ files support additional features like color and texture; however, they’re less widely supported. If the model includes complex features or assemblies, consider using AMF or 3MF formats as they handle additional data better. Always verify which formats are compatible with the selected 3D printer to avoid any issues during the slicing stage. Keeping the file format consistent with printer requirements leads to smoother workflows.
Tips for Successful 3D Printing
Successful 3D printing relies on proper preparation and material selection. Understanding these factors enhances print quality and overall results.
Material Considerations
Choosing the right material is crucial for achieving desired outcomes. Popular options include PLA for ease of use and ABS for durability. Nylon offers flexibility while PETG provides a balance of strength and rigidity. Each material has unique properties affecting strength, temperature resistance, and finish. Users should also consider layer adhesion, print temperature, and flexibility when selecting a filament. Matching the material to the project requirements can significantly impact the final print quality.
Troubleshooting Common Issues
Common issues can arise during the 3D printing process. Warping often occurs due to temperature fluctuations. Ensuring a level print bed helps maintain adhesion and prevent this problem. Clogging of the nozzle can lead to incomplete prints; cleaning and maintaining the extruder minimizes this risk. Layer separation results from insufficient adhesion between layers; adjusting print speed and temperature can rectify this. Recognizing these challenges allows users to make real-time adjustments and improve printing outcomes.
Embracing the journey of 3D modeling opens up a world of creative possibilities. With the right tools and techniques anyone can transform their ideas into tangible objects. Understanding the nuances of model creation and preparation is crucial for achieving high-quality prints.
By focusing on model integrity and selecting appropriate materials users can enhance their printing experience. As they dive into this exciting field they’ll not only develop valuable skills but also gain the confidence to bring their imaginative concepts to life. The adventure of 3D printing awaits those ready to explore and innovate.